Frozen at Home: Snow Day Activities

This winter has been a rough one so far! While you may be feeling stir crazy with the kids home from school or stuck inside, we’ve got some fun ideas to spark your imagination!

Make it a themed day! Watch Frozen (or Frozen 2) and stay warm inside by playing Freeze Dance (we love playing to “Let it Go, Fixer Upper, and Some Things Never Change. Pause the music and players stand still), drink some hot chocolate, make snow cream, and hot ice!

Make Snow Cream

Thank you to Happy Hooligans for this recipe and directions!

Snow Cream Ingredients:

  • 8-12 cups of fresh, white, new-fallen snow (a cup here in North America is 8 oz.)

  • 300 ml  can of sweetened condensed milk (10 ounces)

  • 1 tsp vanilla

  • Large bowl

  • measuring cup

  • wooden spoon

  • freezer-proof container for storing your leftovers

  • ingredients for snow ice cream - snow, condensed milk and vanilla

How to Make Snow Ice Cream:

  1. Fill a huge salad bowl with fresh snow. (10-12 cups)

  2. Return inside and scoop about half of the snow into a smaller bowl.

  3. Sprinkle a tsp of vanilla onto the snow.

  4. Pour condensed milk over and snow and vanilla.

  5. Drizzle half the condensed milk over top.

  6. With the wooden spoon, fold the condensed milk and vanilla into the snow, kind of chopping, stirring and mixing to combine everything.

  7. Transfer the whole mixture back into the big bowl of remaining snow, and add the rest of the condensed milk.

Science Experiment: Hot Ice

Thank you to Playdoh and Plato for this amazing idea!

You will need…

  • 4 cups of white vinegar (acetic acid)

  • 4 tablespoons of baking soda (sodium bicarbonate)

  • A pot

  • A glass measuring cup or mason jar (make sure it’s heat safe glass)

  • A dish

  • A spoon 

Directions

  1. Pour 4 cups of vinegar and pour it into a medium-sized pot.

  2. Add 4 tablespoons of baking soda (one tablespoon at a time) to the pot.

  3. The sodium bicarbonate (baking soda) and acetic acid (vinegar) will fizz, forming sodium acetate.

  4. NOTE: The key is to add the baking soda slowly so it doesn’t erupt over the edges of your pot.

  5. Stir the mixture until all the baking soda dissolved and stopped fizzing.

  6. Boil the solution over medium-low heat for a little over an hour to remove the extra water.

  7. The solution will reduce by about 75%. You will see white powdery crystals forming on the sides of the pot near the top of the solution.

    NOTE: If you boil your solution at a higher temperature it may turn yellow-brownish but don’t worry, the experiment will still work!

  8. Pour the concentrated sodium acetate into a glass pyrex measuring cup and place it in the fridge to cool (You can scrape a little bit of the dried sodium acetate powder off the inside of the pot to use later.)

  9. After about 30-45 minutes, the solution was cool enough to turn into ice.

  10. Grab a glass dish and placed a small pile of the sodium acetate powder from the pot in the center.  This would act as a seed for the crystals to start forming.

  11. Very carefully, take the cooled solution out of the fridge because any bump could start the crystallizing process.

  12. Pour the solution very slowly into the pan and crystals will instantly start forming.

  13.  As soon as the clear liquid hit the plate white crystals would form like tiny fireworks.  I continued to pour and the liquid crystallized forming a solid as soon as it touched the growing “ice”.

    NOTE: This form of sodium acetate while non-hazardous can irritate skin and eyes just like vinegar can.  So be careful when handling the crystal.  Both of my kiddos ended up crumbling the crystal and didn’t have any reaction but I imagine it wouldn’t feel too good if your kiddo had a cut on his/her hands.

 Once you are done creating and exploring the crystallized salt you can remelt it to use again and again.


We hope you enjoyed this Frozen filled day!

Plan your next day of fun with us! Book Character Visit


Planning Your Summer Party

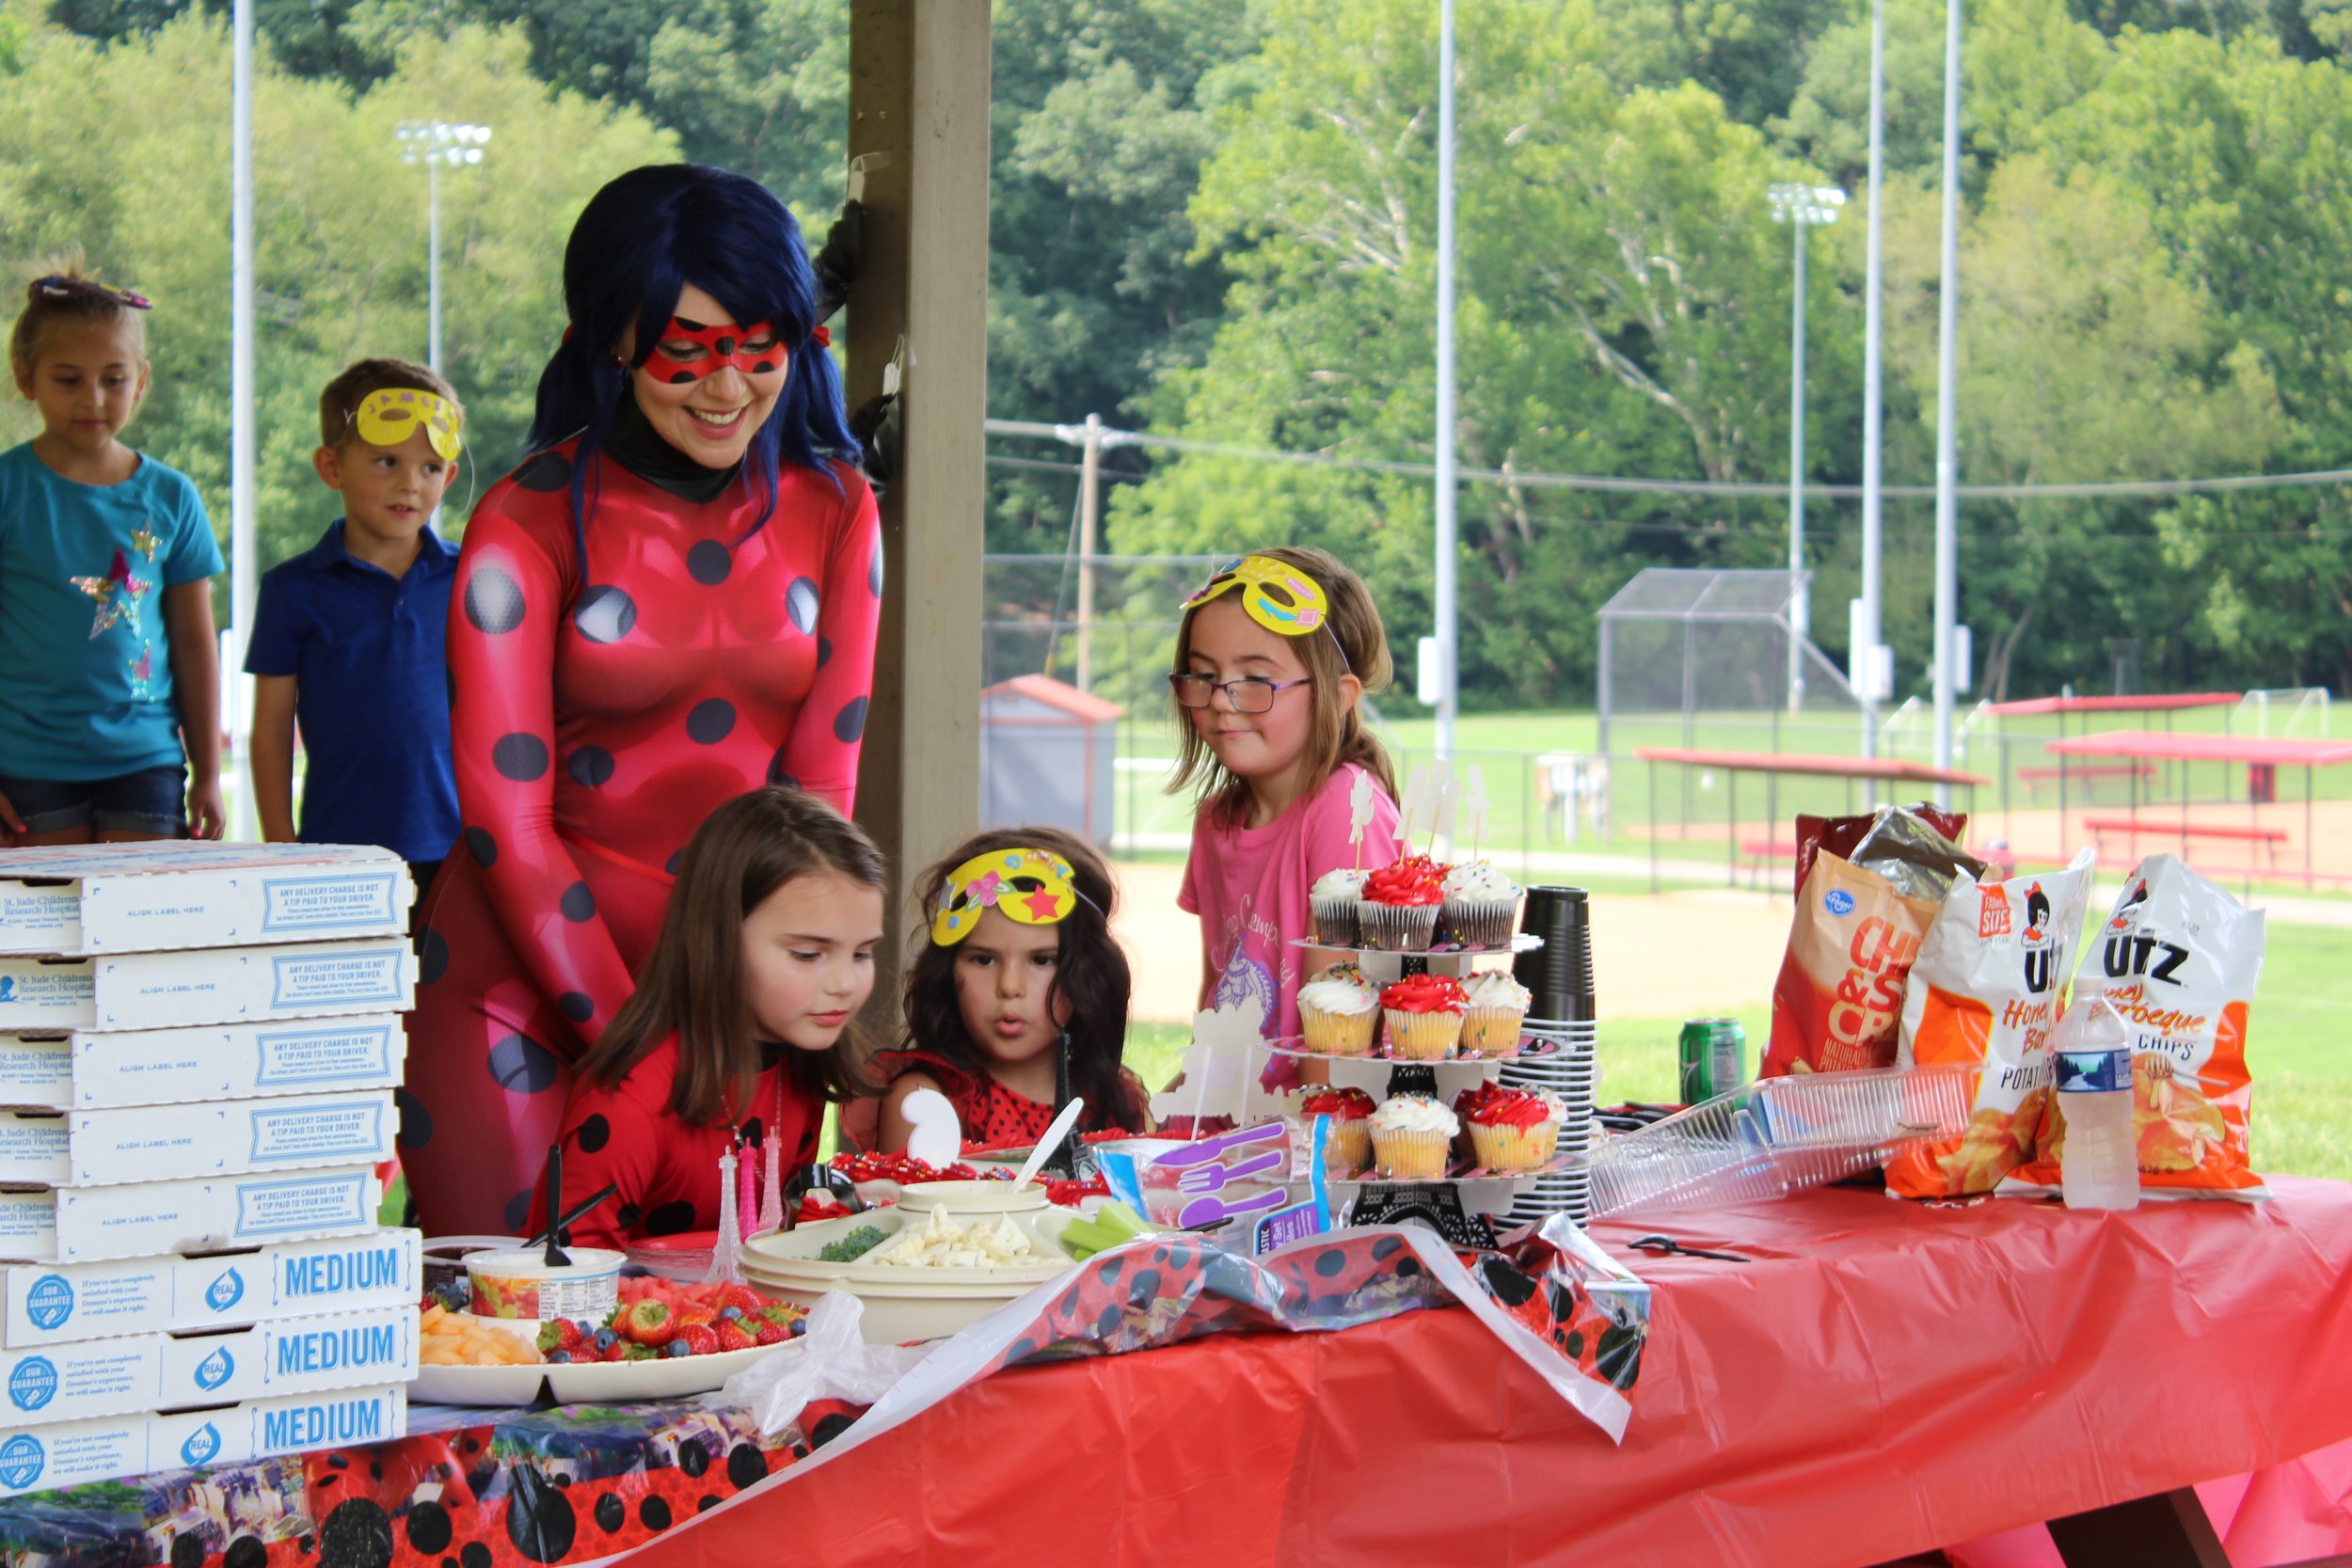
little girl blows out birthday candles with ladybug super hero character watching

As outdoor events are in full swing for our many magical characters, we wanted to take a moment to give you some party planning tips to keep your summer celebrations a success!

1. Utilize Covered Areas

Set up your party in areas that provide shelter from the elements. This not only protects your guests but also keeps your performers safe and comfortable. If wanting to host your party outdoors, consider public parks or campgrounds with pavilions.

2. Stay Hydrated

Keep plenty of water on hand for everyone, especially the performers. Hydration is key to keeping energy levels up and ensuring a great performance.

3. Have a Backup Plan

In case of unexpected downpours or severe weather, have a backup location ready to go. Whether it's an indoor space or a nearby sheltered area, having a Plan B ensures the party can go on rain or shine! For last minute venue changes, try checking with restaurants that have a party room, whether they are local or a chain. From our experience, Pizza Hut and Wendy’s do not charge for the use of these but do require a reservation.

Let's make sure every event is a blast while keeping everyone safe and sound. Have a fantastic time, whatever the weather!

Need inspiration for a venue? CLICK HERE for a complete list of our party approved venues.

Princess Party Tip: Sounds

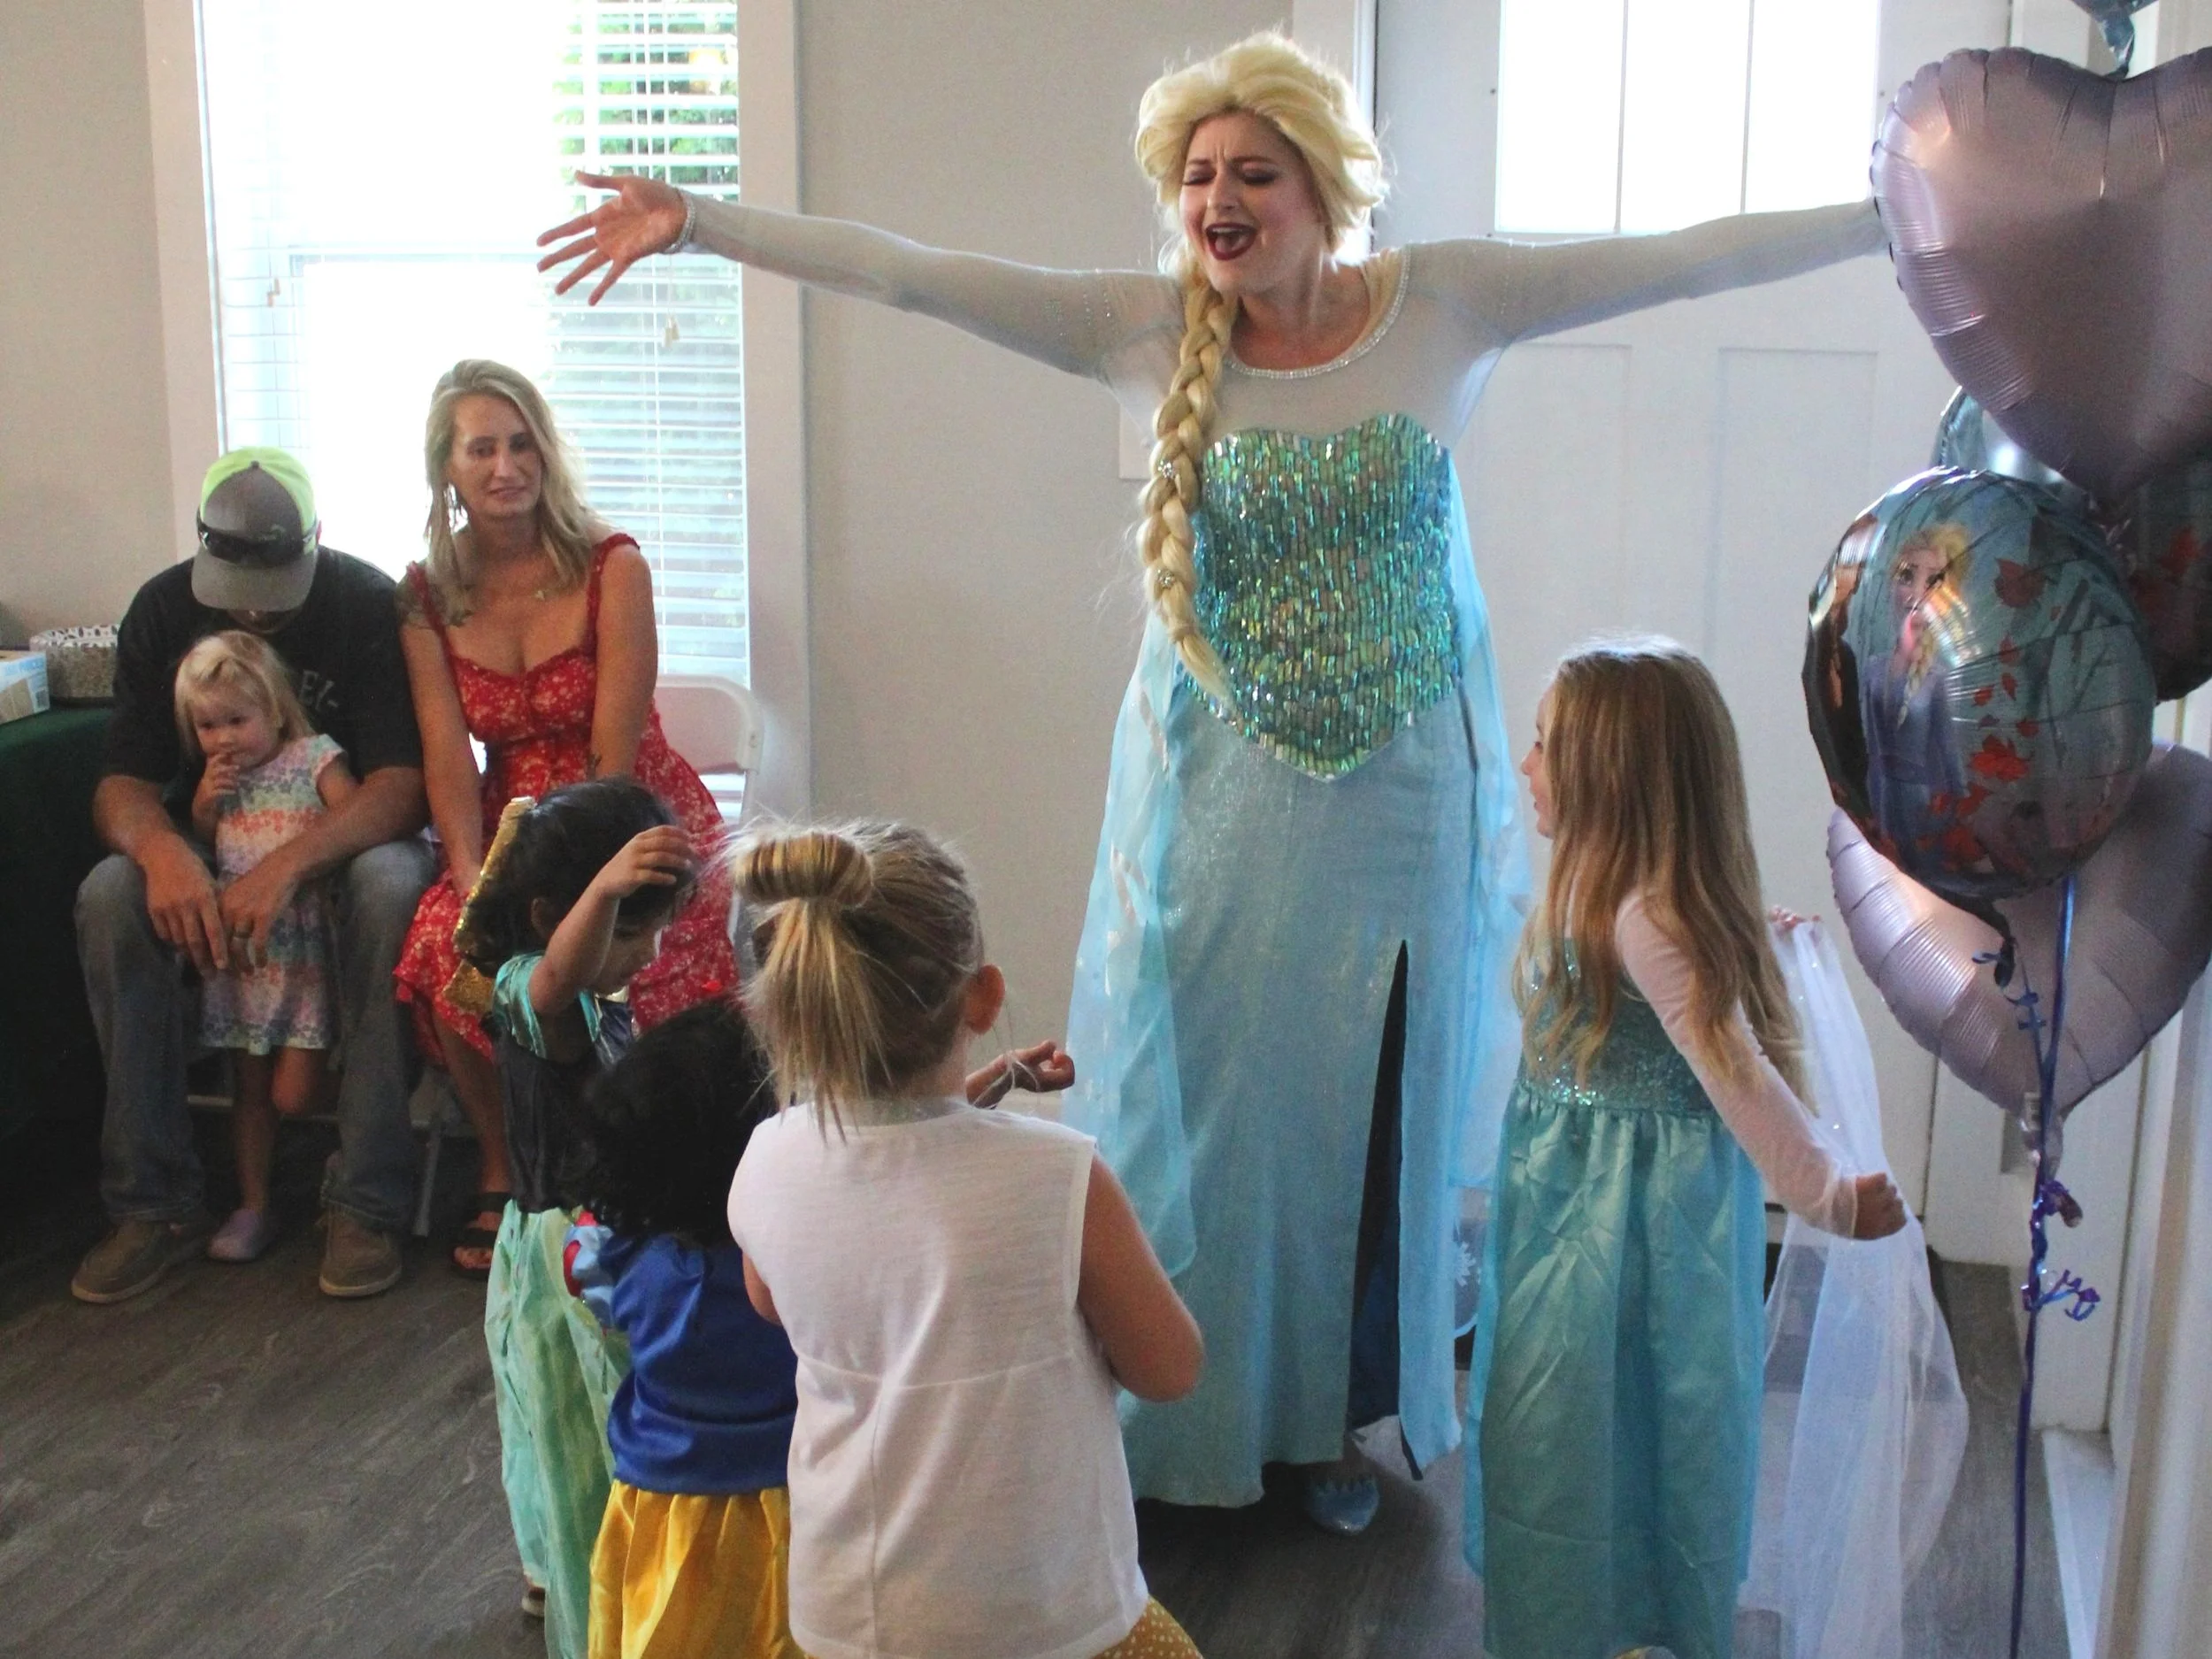
Elsa Party Princess Let It Go

Setting the Mood: Creating the Perfect Ambience for Your Party Through Sound

We’ve been to our fair share of parties over the years and as the Party Experts, want to pass along some tips and tricks we’ve uncovered along the way!

Imagine: you’ve got the perfect venue, themed decor, and top notch entertainment on its way. However, your guests are having to shout over one another to speak, or the television is on loudly blaring a sports game.

When you book with Little Glass Slipper, our characters love having a special moment with the guest of honor upon arrival and may lead activities such as a dance lesson, coronation ceremony or singalong. These magical moments can be difficult to do with competing sounds. Remember - this is your child’s big day! They’re not going to want to miss belting out their favorite song with their favorite character.

Create the right kind of party atmosphere by softly playing your theme’s soundtrack or a generic instrumental playlist (think fairy garden party, royal ball, or super hero tunes!) Our team will let you know if we need to run our music to complete an activity (Freeze Dance is pretty popular!) and your booked character’s Attendant will often have their blu tooth speaker ready for fun with a themed playlist.

From entertainment to atmosphere, Little Glass Slipper has your next event covered!

Easy April Fools' Day Pranks

As we are surrounded by our loved ones at home, let’s get mischievous on this silly day!

Here are 10 April fools day prank ideas to keep you laughing while at home:

1. Replace framed photos of your family members with other people - celebrity magazine cut outs, stock photos, coloring pages.

2. Alter framed photos of your children with easy wipe away magic marker over the frame glass to give them mustaches or blackened teeth OR use googly eyes!

3. Bake a treat and instead of using icing, use mayonnaise, mashed potatoes, or toothpaste!

4. Put a price of tape over your tv remote’s sensor.

5. Put lotion on a doorknob for a slippery trap!

6. Replace your roll of toilet paper with a roll of ductape.

7. Put cling wrap over your shampoo bottle’s opening beneath the cap so nothing comes out when squeezed.

8. Prepare a tray of chocolate covered goodies- but use veggies instead of fruit!

9. Put a few drops of food coloring in the milk at breakfast. Blue or green are our faves!

10. Put a drop of food coloring on your children’s toothbrush and then add the toothpaste. After they are done brushing, they’ll have temporarily brightly colored teeth!